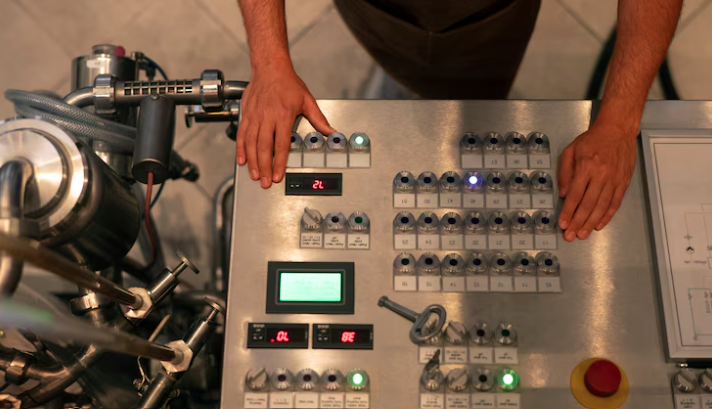
Control panel building is a vital process in industrial automation, manufacturing, HVAC, and energy management. A control panel serves as the central hub for electrical and control systems, housing components such as circuit breakers, relays, programmable logic controllers (PLCs), and human-machine interfaces (HMIs). Whether you’re an engineer, technician, or project manager, understanding how to build control panels correctly can improve safety, efficiency, and performance.
In this comprehensive guide, we break down the entire control panel building process—from planning and design to wiring and testing. Plus, we include best practices, tools, standards, and a helpful FAQ section.
What is Control Panel Building?
Control panel building involves designing, assembling, and testing electrical panels that control machinery or processes. It includes:
-
Electrical layout and design
-
Component mounting
-
Wiring and terminations
-
Safety testing
Industries that rely on control panels:
-
Manufacturing
-
HVAC
-
Water and wastewater treatment
-
Food and beverage
-
Oil and gas
-
Energy and utilities
Step 1: Planning Your Control Panel Build
Define the Project Requirements
Before any work begins:
-
Identify what the control panel will manage.
-
Determine input/output needs (I/O)
-
Assess environmental conditions (dust, water, heat)
Create a Bill of Materials (BOM)
Include:
-
Relays, contactors, PLCs, breakers
-
Wire types and gauges
-
Terminal blocks and labels
-
Enclosures (NEMA or IP-rated)
Choose the Right Enclosure
-
NEMA 1, 4, or 4X for industrial environments
-
IP65 for dustproof and waterproof protection
-
Allow space for future expansion.
Step 2: Electrical Schematic and Design
Use Design Software
Use tools like AutoCAD Electrical or EPLAN to design:
-
Power distribution
-
Control logic circuits
-
Grounding and shielding
Follow Industry Standards
Important standards include:
-
UL 508A (for industrial control panels in the U.S.)
-
NEC (National Electrical Code)
-
IEC 60204-1 (for international compliance)
Step 3: Preparing the Panel
Mount the Back Plate
Install a steel or aluminum mounting plate inside the enclosure.
Lay Out Components
Using the schematic:
-
Position components logically (inputs, outputs, power zones)
-
Maintain clearances for heat dissipation.
Cut Openings
Use knockout punches or step bits for:
-
Cable glands
-
Push buttons
-
Indicator lights
Step 4: Install Electrical Components
DIN Rail Mounting
Install:
-
Terminal blocks
-
Relays and contactors
-
Circuit breakers
Label Every Component
Clear labeling helps with maintenance and troubleshooting. Use:
-
Adhesive labels
-
Heat-shrink tubing
-
Engraved tags
Step 5: Wiring the Control Panel
Use the Correct Wire Types
-
Use THHN, MTW, or equivalent wires.
-
Color codes: black for power, blue for neutral, green/yellow for ground
Route Wires Neatly
-
Use wire ducts or cable trays.
-
Group similar signals
-
Avoid sharp bends and tight radii.
Terminate Properly
-
Strip wires accurately
-
Use crimp terminals or ferrules.
-
Tighten connections with torque drivers.
Step 6: Testing and Quality Checks
Pre-Power Inspection
-
Verify connections against schematics.
-
Check continuity and insulation resistance.
-
Ensure component torque specs are met.
Power-Up Testing
-
Gradually apply power
-
Check voltage levels and polarity.
-
Monitor for heat, noise, or unusual smells
Functional Testing
-
Simulate inputs and observe outputs.
-
Validate PLC programs and HMI displays.
Tools Required for Control Panel Building
-
Screwdrivers and torque wrenches
-
Wire strippers and crimpers
-
Multimeter and megohmmeter
-
CAD software
-
Label printer
-
DIN rail cutter and hole punch
Best Practices for Efficient Panel Building
-
Use modular designs for easy maintenance.
-
Document changes in real-time.
-
Train technicians on specific panel configurations
-
Maintain 20% spare space for future growth.
-
Isolate high-voltage and low-voltage sections.
Common Mistakes to Avoid
-
Overcrowding the panel leads to overheating and poor serviceability.
-
Skipping documentation makes troubleshooting hard later.
-
Poor wire labeling slows down maintenance and repair
-
Ignoring standards can result in unsafe installations.
Applications of Custom Control Panels
-
PLC Panels: for factory automation
-
Motor Control Panels (MCP): for motors and drives
-
HVAC Panels: for temperature and air control
-
HMI Panels: with touchscreens for user interaction
-
Power Distribution Panels: for managing voltage and current loads
How to Choose a Control Panel Builder
-
Look for UL 508A certification.
-
Check experience in your industry.
-
Ask about testing procedures.
-
Review project timelines and support services.
Future Trends in Control Panel Building
-
Smart Panels with IoT features
-
Energy-efficient builds with optimized layouts
-
Remote diagnostics via IIoT devices
-
Smaller, compact enclosures for tight spaces
Conclusion: Mastering the Art of Control Panel Building
Control panel building is both a science and an art. By following the right steps and using proper tools and standards, you can create panels that are efficient, safe, and future-ready. Whether you're building your first panel or looking to improve your process, use this guide as your roadmap.
Frequently Asked Questions (FAQ)
Q1: What is the purpose of a control panel? A1: A control panel houses the electrical components that manage and control machines and systems.
Q2: What are the key components of a control panel? A2: Common components include PLCs, relays, circuit breakers, terminal blocks, and HMIs.
Q3: How long does it take to build a control panel? A3: It depends on complexity. Small panels take hours; complex systems may take weeks.
Q4: What standards should a control panel meet? A4: UL 508A, NEC, and IEC 60204-1 are the most relevant standards.
Q5: Can I build a control panel myself? A5: Yes, if you follow electrical codes and safety standards. However, hiring certified experts is recommended for complex builds.
Ready to build your next control panel? Contact our team for expert advice, free design templates, or a quote on your custom control panel project today!
