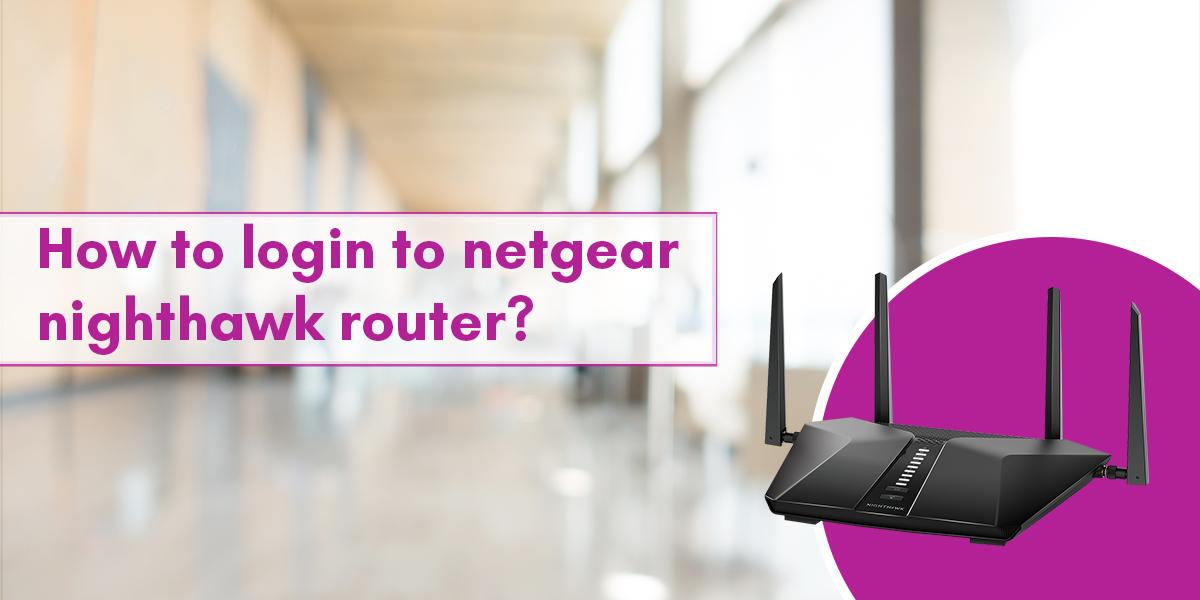
The first step is to log into the admin panel of your Netgear Nighthawk router if you haven't set it up yet or need to adjust its settings. It's easier than you might think—follow these simple steps to get started.
- Establish a Network Connection
Make sure your PC or smartphone is first linked to your Nighthawk router via an Ethernet wire or Wi-Fi. Since the login portal can only be accessed within your local network, this connection is necessary.
- Launch a Web Browser
Open a web browser (Chrome, Firefox, Safari, or Edge) and enter http://www.routerlogin.net or http://192.168.1.1, the default web address.
You should be sent to the login screen after pressing Enter.
- Enter your login information
You will be required to input your password and username. The credentials that are set by default are:
Login name: admin
The keyword is password
Resetting your router to factory settings can be necessary if you've altered these settings and forgotten them.
- Go to the Administrator Dashboard
You will see the Nighthawk dashboard after logging in. Update firmware, modify Wi-Fi passwords, set up security settings, activate parental controls, and more from this location.
Quick Tip:
- For further security, change your default password right away.
- Update the firmware on your router.
- For remote management and mobile-friendly access, use the Nighthawk app.
- To improve security and personalize your network experience, you must Login to Netgear Nighthawk Router.
To know more visit our website.